
How to Turn a Word Document into an Interactive Workbook
Author:
Align Right LLC
A Word document is often where a workbook begins, but it is rarely where the best learner experience ends. A useful workbook needs clear sections, space for reflection, prompts readers can complete, and a publishing format that matches how the audience will use it.
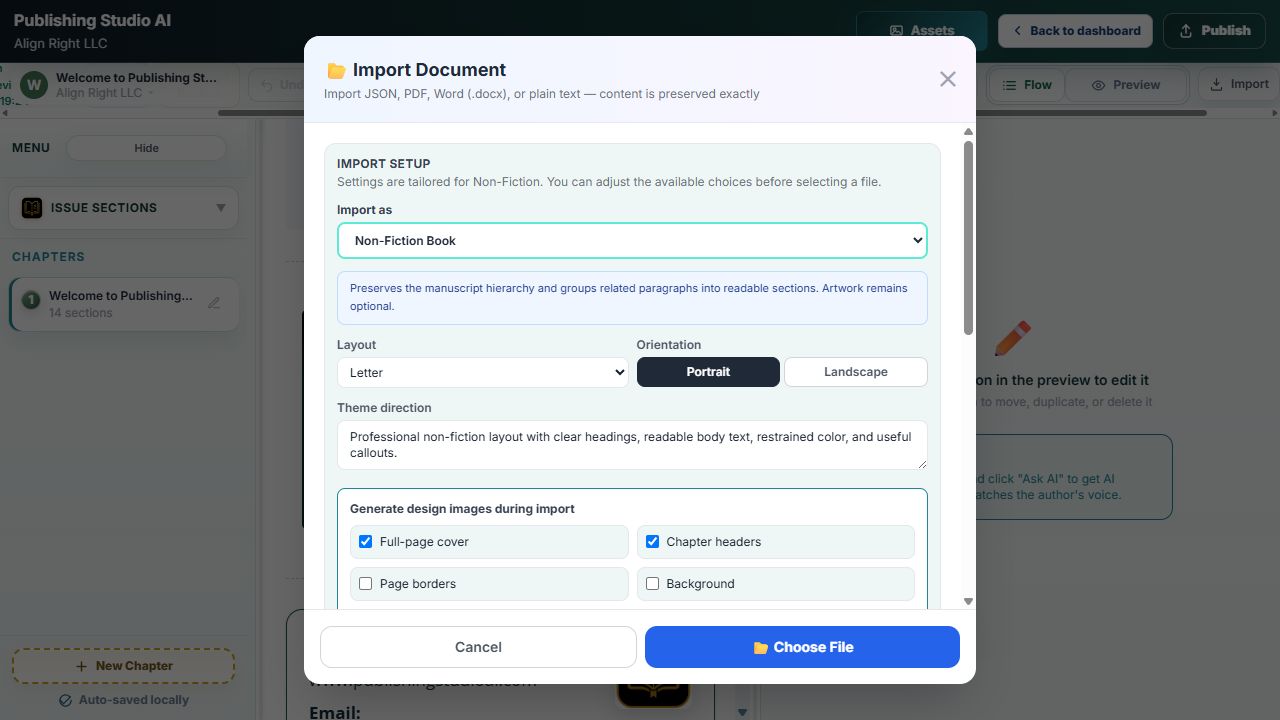
This guide shows how to convert a Word document to an interactive workbook in Publishing Studio AI. You will import the original file, review its structure, add fillable reader fields, inspect the result in Clean Preview, and choose the right publishing option.
Start with a .docx file that contains the content you want to preserve. A little preparation improves the import:
You do not need to finish the design in Word. Publishing Studio AI separates the structured reading flow from the visual page design, so the material remains editable after import.
Open the publication you want to use, select Import, and choose the Word file. The import area supports Word, PDF, JSON, and plain-text content, but a Word file is especially useful when the manuscript already contains headings and paragraph structure.
After selecting the file, review the publication-type settings before continuing. For a workbook, choose options that support activities, prompts, and interactive fields. The importer organizes the content into chapters and sections while preserving the manuscript for further editing.
When the import is complete, check the Flow view first. Flow is the reading order used by reflowable and editable outputs. Confirm that headings appear in the right order and that related paragraphs have not been separated unnecessarily. You can rename sections, combine related text, or move content before designing individual pages.
Select the section that contains a question, activity, or reflection prompt. In the section editor, expand Interactive reader fields. You can add:
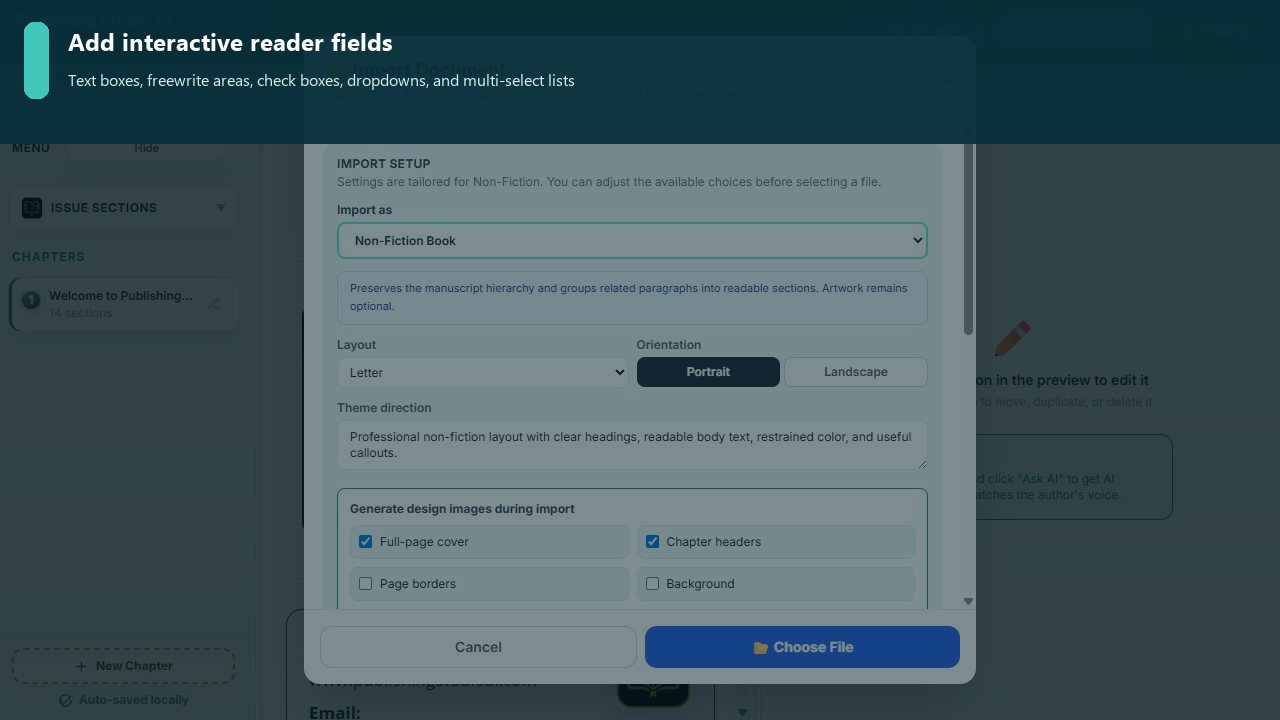
Each field can have its own label, instructions, response settings, placement, and print treatment. For example, a freewrite field can become writing lines in a printable edition, while the hosted Interactive Reader displays a fillable response area that can save the reader’s work.
Use required-field and completion settings only when they support the learning goal. A reflection prompt may need a response for course completion, while an optional planning note should not block progress. For quizzes, add answer and explanation settings so the Answer Key and answer-display publishing version can reuse the same information.
Open Page Design to control how sections appear on a fixed page. You can move, resize, align, layer, and style section containers without changing the underlying Flow order. This is useful when a workbook needs a specific printable layout but should still remain readable in responsive formats.
Keep enough space around fields for real answers. A short prompt may need only one or two lines in print, while a reflection activity may need a larger freewrite area. Check the selected page size and avoid placing content outside the printable boundary.
Clean Preview is the toggle inside Page Design. It hides editing controls so you can inspect the page as a reader will see it. This is different from the top-level final Preview, which reviews the larger publication.
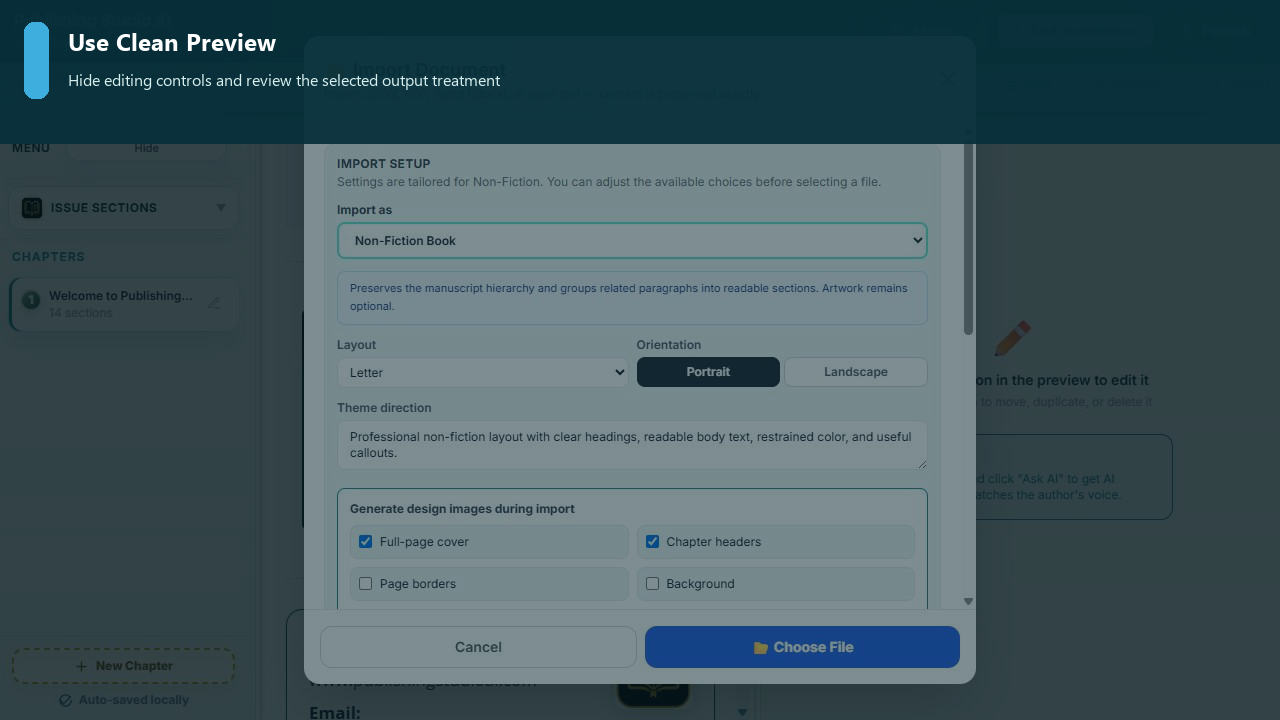
Use the Output Preview selector to test how interactive fields will appear in different editions:
Inspect every field in the edition you plan to release. Check long labels, answer choices, writing-line spacing, contrast, image clarity, and page overflow. Then use the final Preview to review the complete publication in order.
Open Publish and create the publication version that matches the audience. The same master content can support more than one edition, so you can keep an interactive learner version and a printable version without duplicating the manuscript.
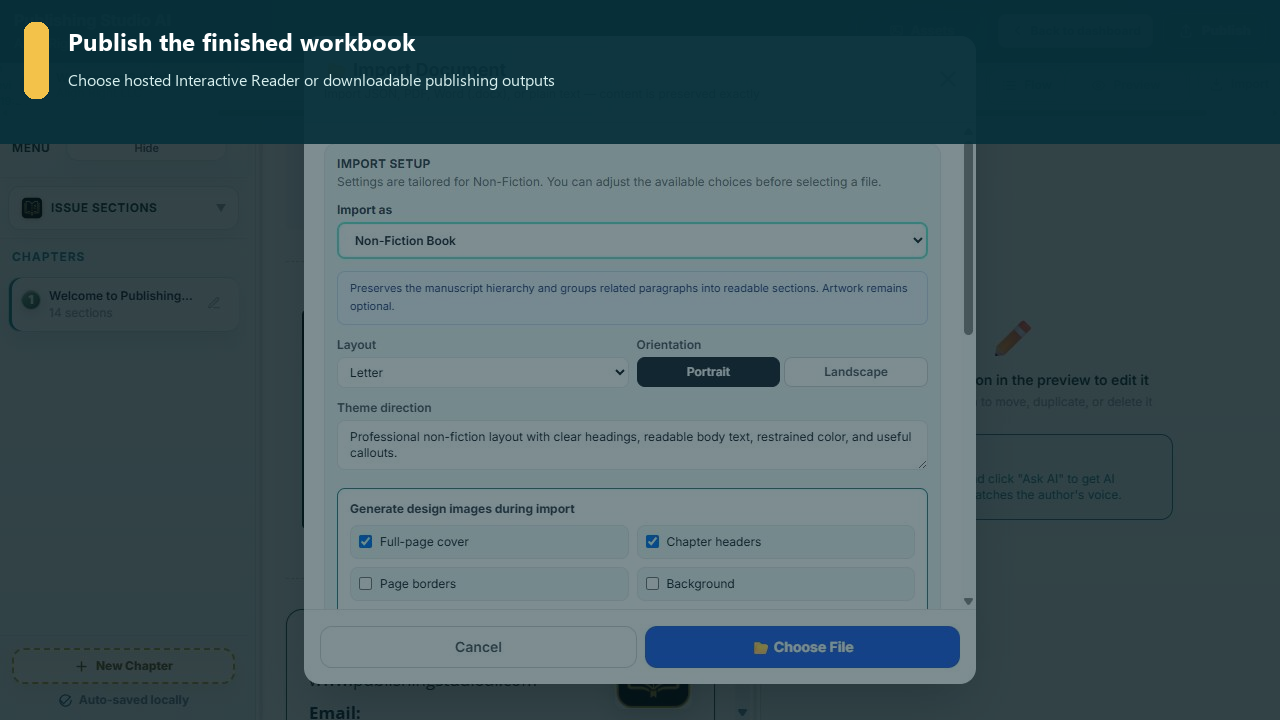
Choose the hosted Interactive Reader when readers need to enter and save responses, complete required activities, track progress, receive assigned seats, reveal answers, or request a certificate. Reader access can be offered through Publishing Studio checkout, an external service such as WooCommerce, or free self-service access.
Choose a printable treatment when learners will write by hand. The publish workspace can also produce formats such as PDF, DOCX, HTML, EPUB, and project JSON, depending on the publication type and intended use. Always review the generated output because print, responsive web, and editable Word formats solve different needs.
.docx document.An effective interactive workbook creator should do more than convert a file into static pages. It should preserve the source material, let you redesign it, add meaningful participation, and publish multiple editions from one editable project. Publishing Studio AI brings those steps into one workflow so a Word manuscript can become a workbook people can read, complete, save, print, and revisit.
Get in touch
Address17350 State Hwy 249, Ste 220 #12587
Houston, TX 77064
Phone (866) 488-2782
Emailcustomerservice@alignrightnow.com


